Blog

Getting Your Mobile App into the Apple Store
At first, submitting an mobile application to the Apple store may seem like a daunting task. But it is actually quite simple once you jump into the process. Let me tell you how.

Submitting a mobile app is only one part of whole process. Apple extensively reviews submitted apps for approval. The process is quite stringent and can take two to three weeks to complete. This time is used to ensure the app adheres to Apple’s guidelines and does not have bugs that will negatively affect the user experience.
Since the review process takes up a significant chunk of the development timeline, getting your app to that point as quickly as possible is important. The following guide outlines the high level steps for getting your app to a successful review.

Step 1 – Gather the App Information
Account Info
To submit to the Apple Store, you will need a valid Apple developer program account. It is recommended that your app is developed in the same account, although not necessary. If not developed under your account, you will need your developers to share the iOS testflight build with your developer account.
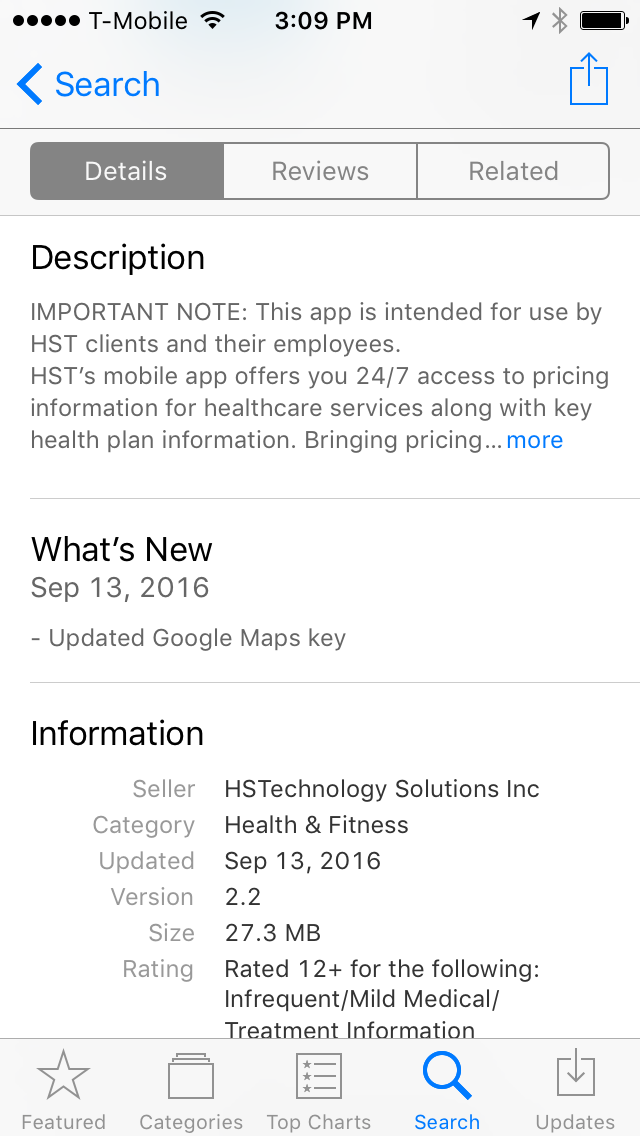
Submitting the app under your own account has a major benefit. It ensures that the app submission aligns with your branding and shows a degree of ownership over the app. In contrast, if your outside developer were to submit under their development account, they will get the “credit.” For example, if you asked PINT to submit your mobile app, you would see “developed by PINT” in the store listing. Below is another example:
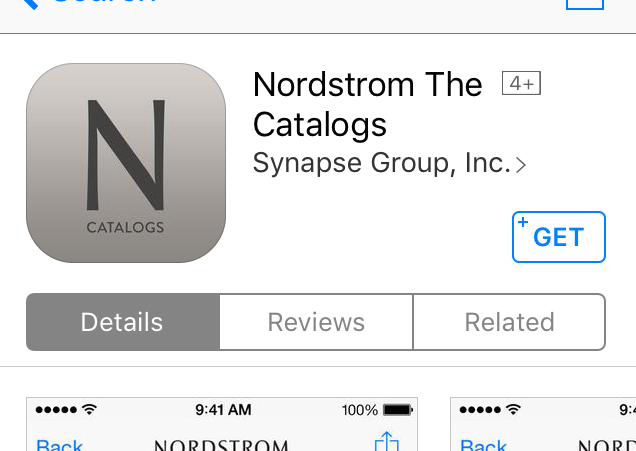
This may be less than ideal from a branding/ownership perspective.
Required Details
Apple requires that several fields be filled out when submitting your app information. Most are self-explanatory:
- “Name” = the name of the app
- “Keywords” = relevant keywords to help users find your app in the app store
You will also be asked to submit images:
- An icon for your app
- Screenshots of the app in different Apple device display sizes.
Mobile App Screenshots
The screenshots on mobile devices are where it can get a bit confusing. The key is making sure you pair the right size screenshots with the selected display size.
My personal experience was a bit frustrating with this step. I tried to submit screenshots at the pixel dimensions for a 3.5 inch display while unknowingly I had the 5.5 inch screenshots selected within the developer portal.
Fortunately, Apple offers a handy guide to their screenshot properties. I’m also sharing example screenshots for iPhone:

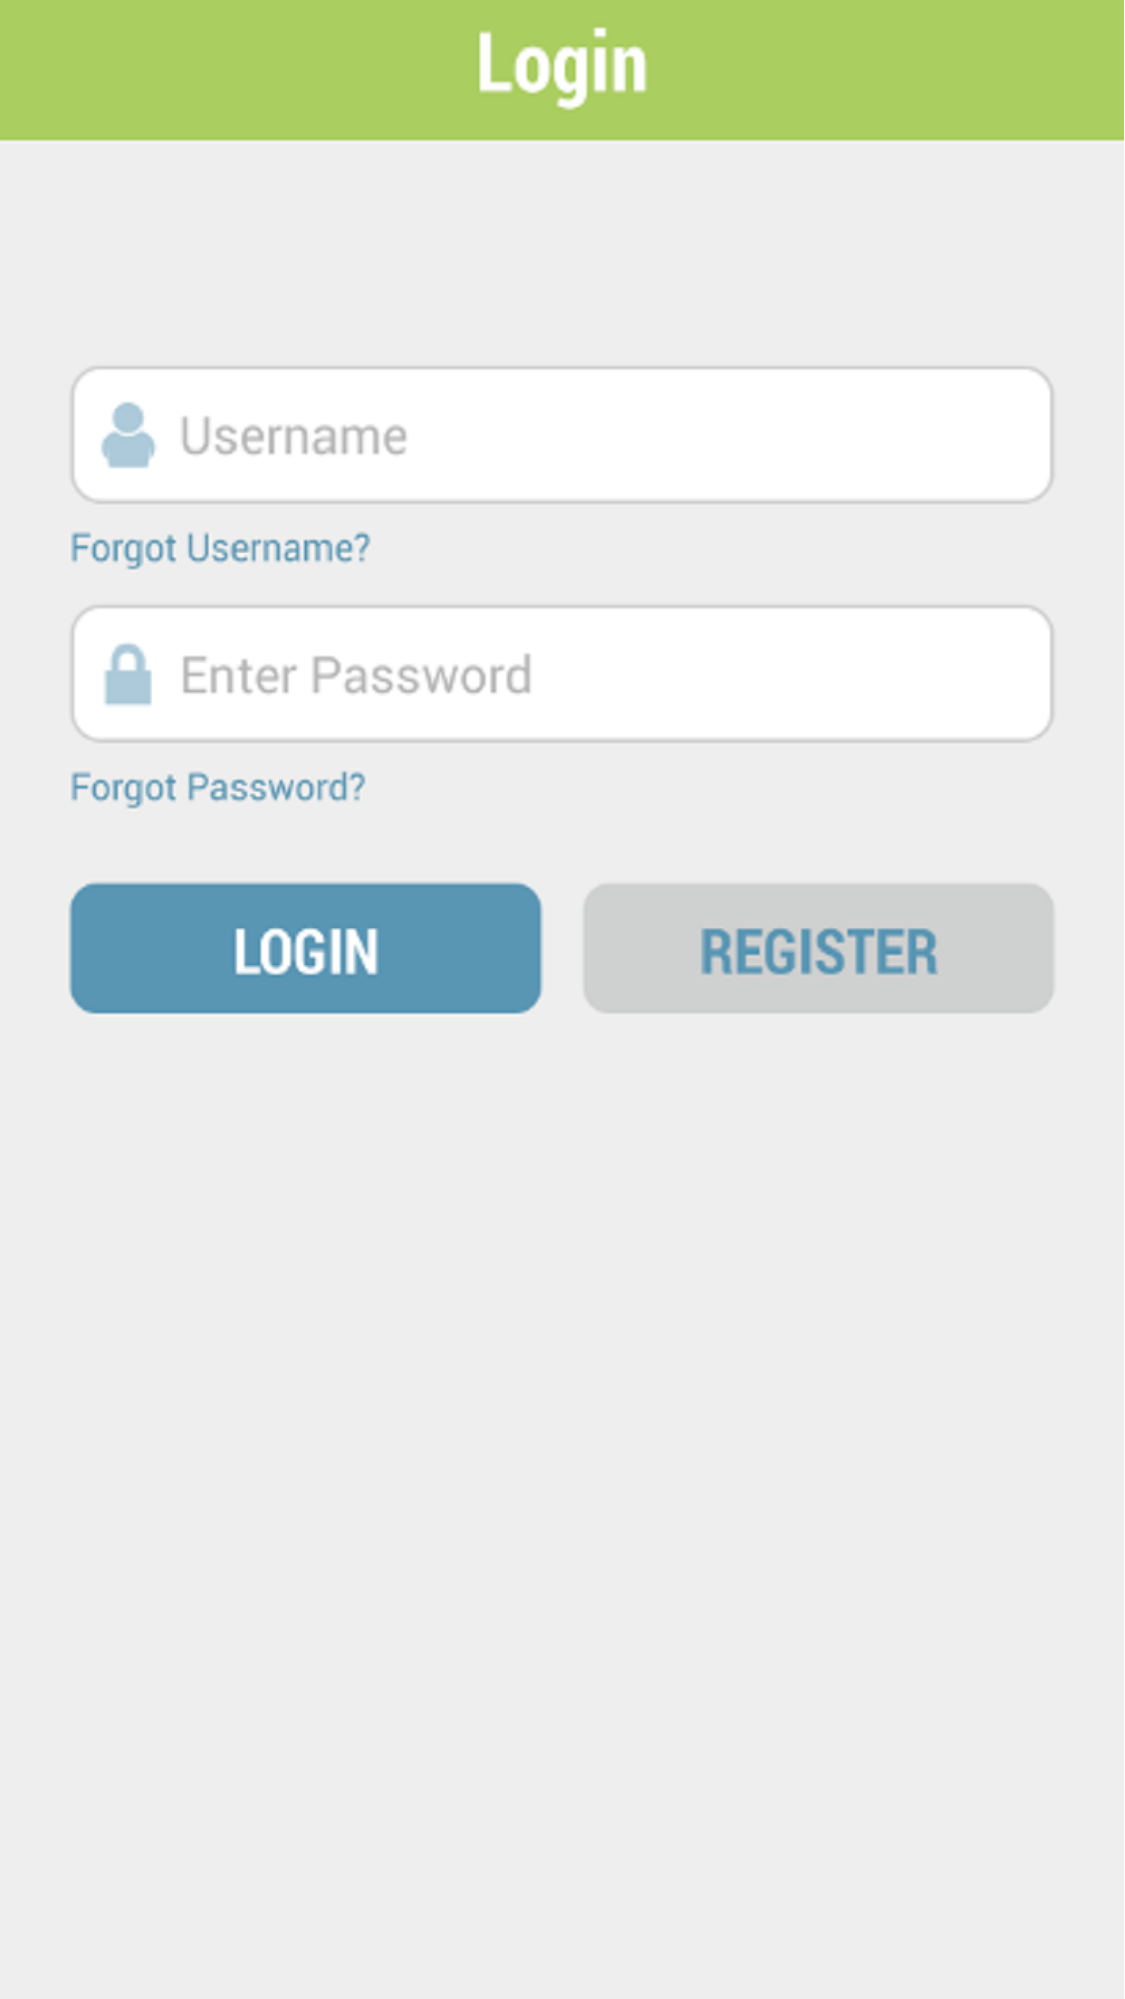
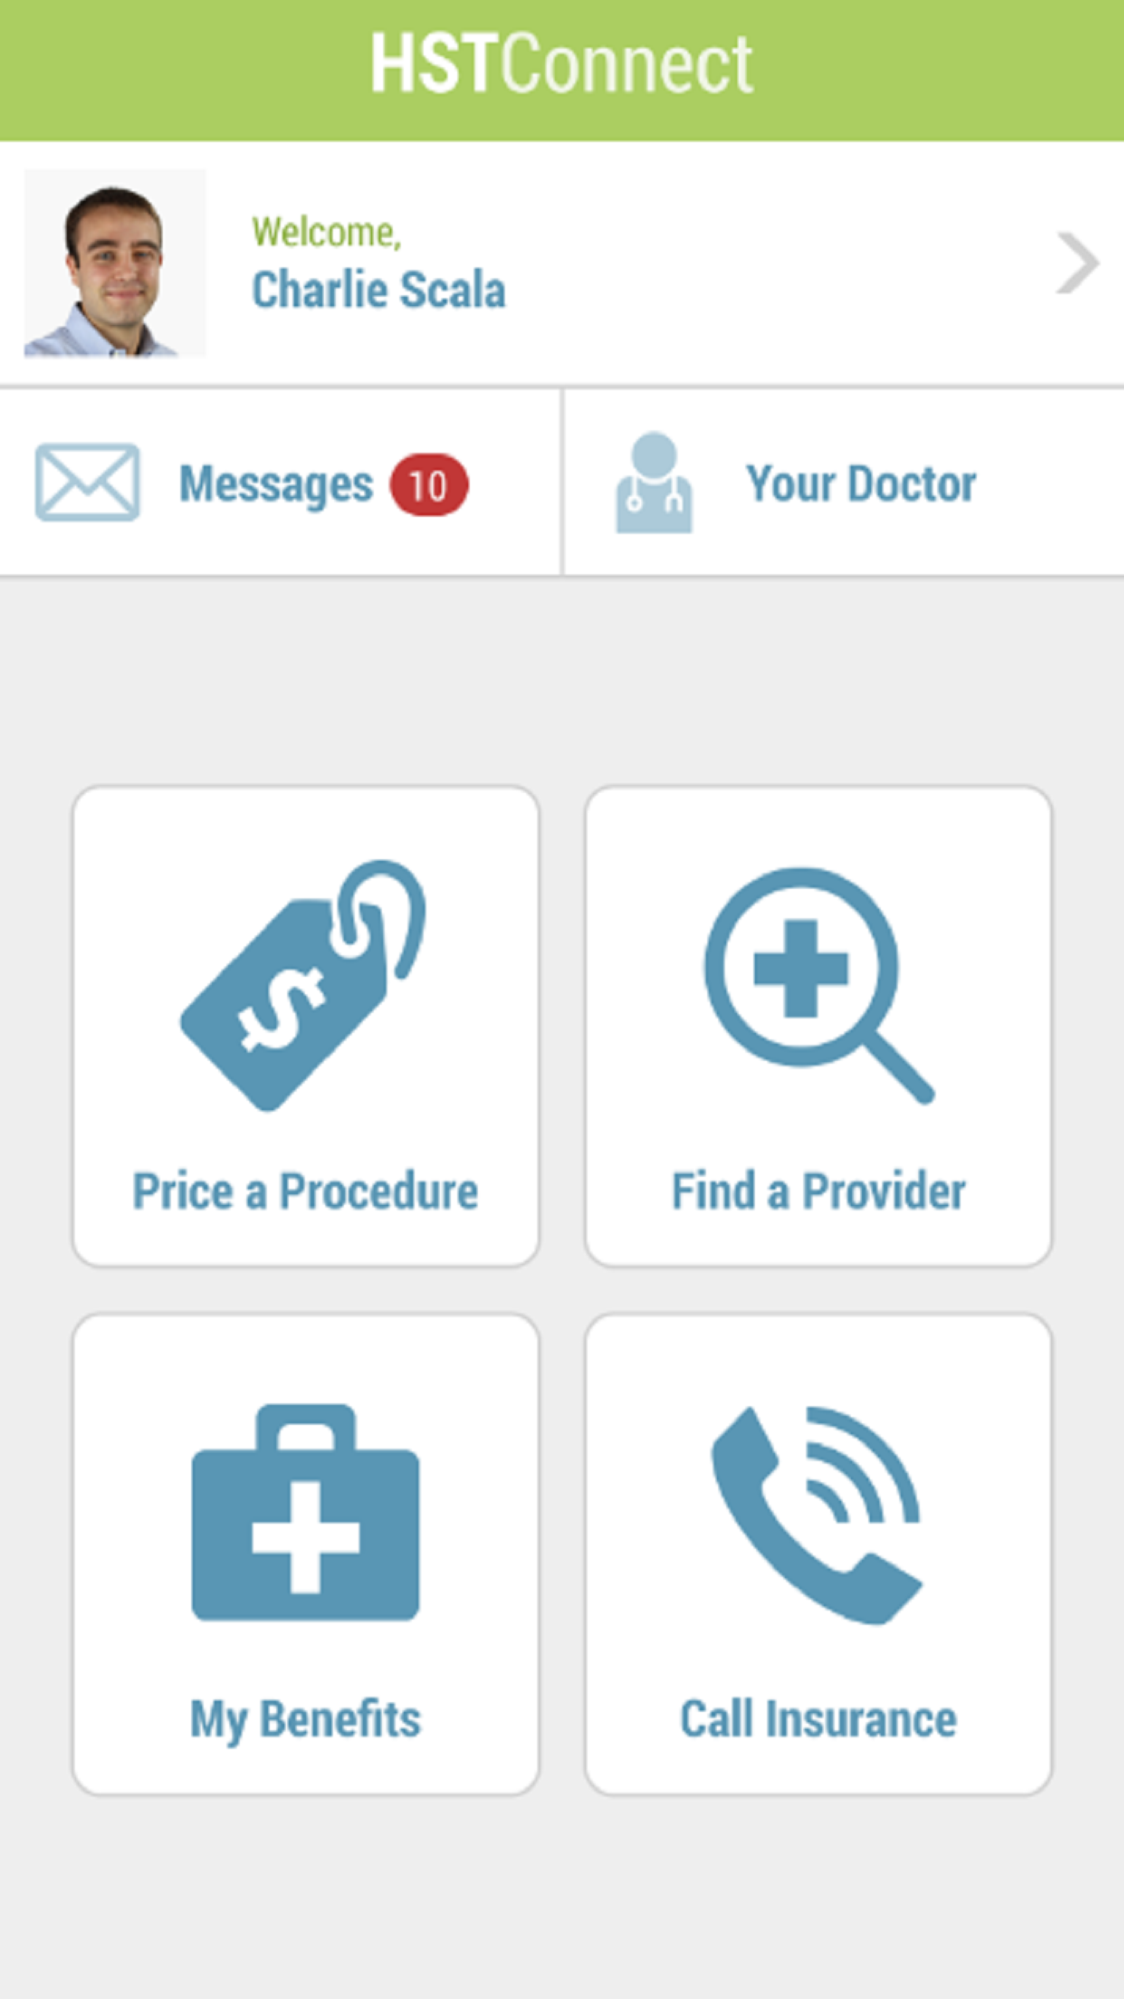
Obviously, taking the screenshot on an Apple device with those screen sizes is your best bet. But what if you don’t have a slew of various Apple devices lying around? One option is to use image editing software to crop/resize the image at the specified dimensions. However, this is a hack that may distort the image. Remember when I mentioned Apple’s stringent review process? Unprofessional images is one reason they might reject your app submission.
Screenshots from emulators are a good way to include accurate screenshots without purchasing all the devices on which your app might run.
Sidenote: as of this writing, there was an error in the Apple Store that allowed users to submit apps without providing all the appropriate screenshots.
Step 2 – Creating a Bundle Identifier
The Bundle Identifier is the actual name of your app, as it is seen on Apple devices and the App Store. To complete this step, go to “Identifiers” in the Developer Portal and click the “+” button. From here, you will name your Apple ID (should be same as your app) and name your Bundle ID. The Bundle ID utilizes a specific naming convention:
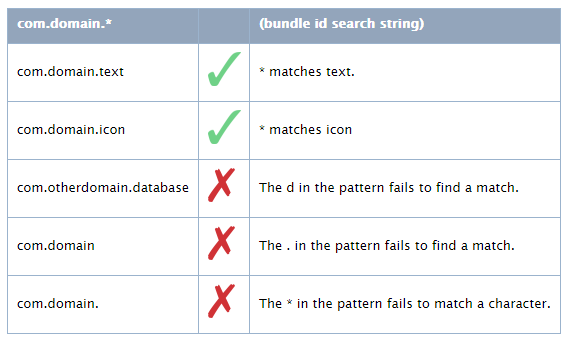
If there’s any confusion on this step, I strongly suggest deferring to your developer to ensure the Bundle Identifier is named correctly. In general, the standard naming convention is:
com.yourcompanyname.yourappname
Once you’ve named your Bundle ID, check any Apple Services required by your app and submit.
Step 4 – Creating a Production Certificate for the App Store
A Production Certificate is important. It associates your iOS mobile apps with your Apple Developer account.
To start this process, click on “Certificates” in the Developer Portal. Similar to Step 3, you will use the “+” button to create the certificate. Then, create and upload a Certificate Signing Request. Once created, you will download and install the Production Certificate on your computer. Keep it in a safe place.

Step 5 – Creating a Provisioning Profile
Provisioning Profiles are pre-packaged with apps to allow installation on devices. To create a Provisioning Profile, click on “Provisioning Profiles” in the Developer Portal and hit the “+” button. Choose “App Store Distribution” and add the Bundle ID and Certificate that you created earlier in the process. After naming your profile, click generate. Download the Provisioning Profile and install it on your computer. Keep that in a safe place, too.
Step 6 – App Store Listing
Choose “My Apps” and then the “+” button. Create a “New iOS App.” For the Bundle ID, select the one you created earlier in the process. Choose create, and this will make the first version of the app.
Step 7 – Creating the release build
This step will package the build to be uploaded to the store. Using Xcode, open your project. Make sure that the version and build numbers are updated and then select “Build Settings.” Select every setting and go down to “Code Signing.” Use the provisioning and certificate signing profiles you made previously in the process. Then select “Generic iOS Device” for the destination of your build. Now you can distribute your app and submit to the app store.
Step 8 – Version information
In this step, you’re providing the information about your app that is presented to users in the app store.
You’re almost done, so don’t quit or stop paying close attention to details now!

Use the information you put together in the first step. Then, choose the build that you want to use for this particular version. Enter any pricing info (if the app is meant to be free, make it $0) and save.
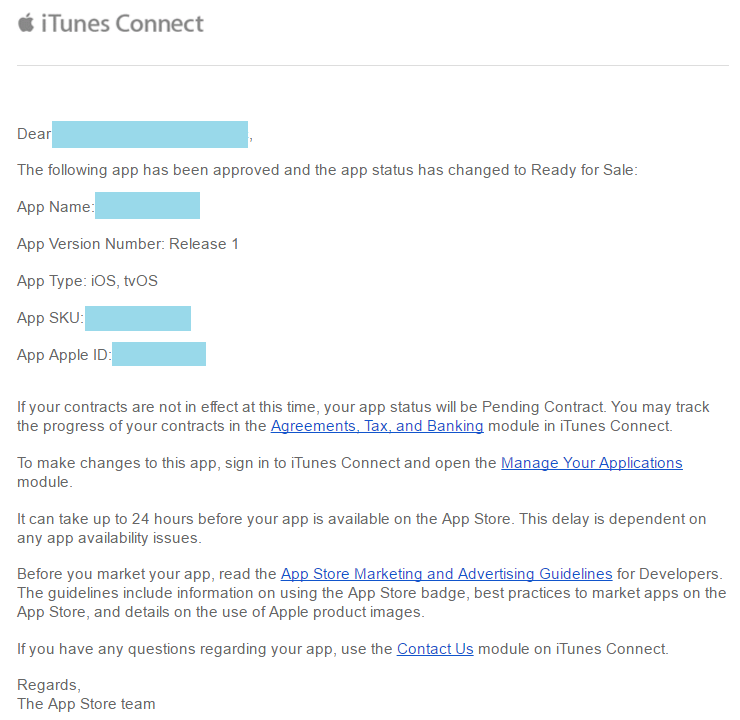
Step 9 – Submit your app for review and release
As mentioned, Apple has a fairly rigorous app review process. Be prepared to wait up to three weeks for approval. Once it is approved, you can have Apple release the app automatically. Or you can give it one more review and release it manually yourself.

Should your app not be approved, go the the Resolution Center on the App Summary or Version Details page. There should be more detail about why your app was rejected. There is also an appeal process. You could go through this process if you feel functionality or implementation was misinterpreted in the Apple review process.
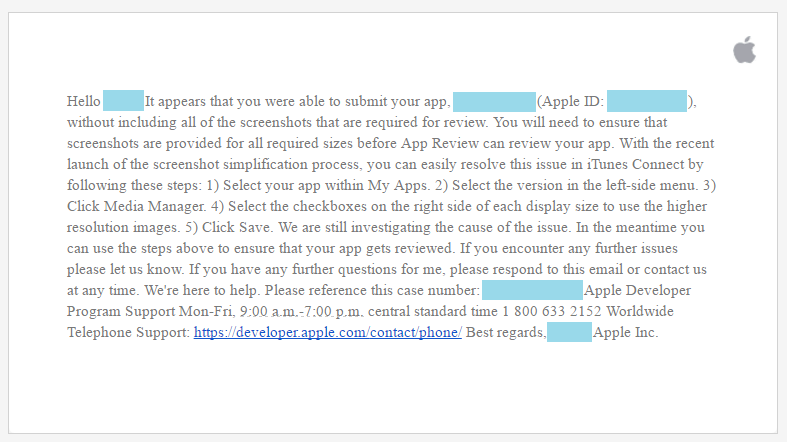
On the plus side, Apple is good at informing you about any incomplete or additional steps you may need to take to submit your app successfully.
And that my friends, is how to submit a mobile app to the Apple Store.

Related Articles

5 Key Findings from a Recent Client Usability Study
Introduction Good usability within a website means that the user is able to use the interface to complete her/his tasks quickly and successfully. It is...

EDCO App Design and Development
Introduction Remember back in 2007 when Steve Jobs told us that iPhones didn’t need a bunch of apps? No? You’re forgiven if it’s been lost...

N.A.M.I. San Diego App Development
Project Summary Since 2020, PINT has helped N.A.M.I. rearchitect and continuously improve its mobile applications oscER, oscER jr. and alfrEDU. The apps were initially rearchitected...