
Automated Visual Regression Testing
What is automated visual regression testing?
The name sounds scary, but in reality, the idea is fairly simple. If you have a user interface (UI), whether it’s a website, web app, or native application, then you want it to look a certain way for the user.
To ensure that the UI looks “correct” to the user, you can automatically run visual tests on the UI to check for regressions. These tests compare snapshots taken from the current UI instance and a baseline UI.
By comparing the pixels of the snapshots, the test can determine if any regression has occurred. To achieve automatic testing, visual regression testing should be included in your CI/CD pipeline. The following post outlines a possible way to do just that.
What are the benefits of automated visual regression testing?
Why is visual regression testing important? These are the most common benefits:
- Visual UI errors can be discovered and fixed before many users notice.
- Save time and cost by automating manual QA processes.
- Increase agility and confidence in new code deployments
Visual testing tools
There are several visual testing tools on the market these days, but one of the easiest to use and setup is Percy.io, a visual testing platform that can easily be integrated into your CI/CD pipeline.
It will run visual tests on your web UI and upload them to Percy.io for review.
Other visual testing tools
Here are some other visual testing tools and platforms that provide a similar service to Percy.
- SauceLabs visual testing platform
- Applitools
For a more in-depth comparison of Percy.io vs. Applitools check out our blog Automated Testing Tool Comparisons.
Ways to Incorporate Visual Regression Testing
There are many different ways to incorporate visual regression testing into your CI/CD pipeline depending on the technologies you are using, but they each fall into one of two categories
- Integrate tools such as Percy.io, Applitools, or Sauce Labs into your pipeline using one of their SDKs.
- Write your own scripts and tools that utilize APIs such as Cross Browser Testing.
For the sake of simplicity, ease, and price, we will use Percy.io to show how visual regression testing can be incorporated into your pipeline and automated.
Integrating Percy.io into GitLab
The first thing to do is setup a free account at Percy.io and link our example GitLab repo. We’ll do this by following the documentation here.
Steps outlined in the documentation:
1. Create a GitLab bot user for Percy.io
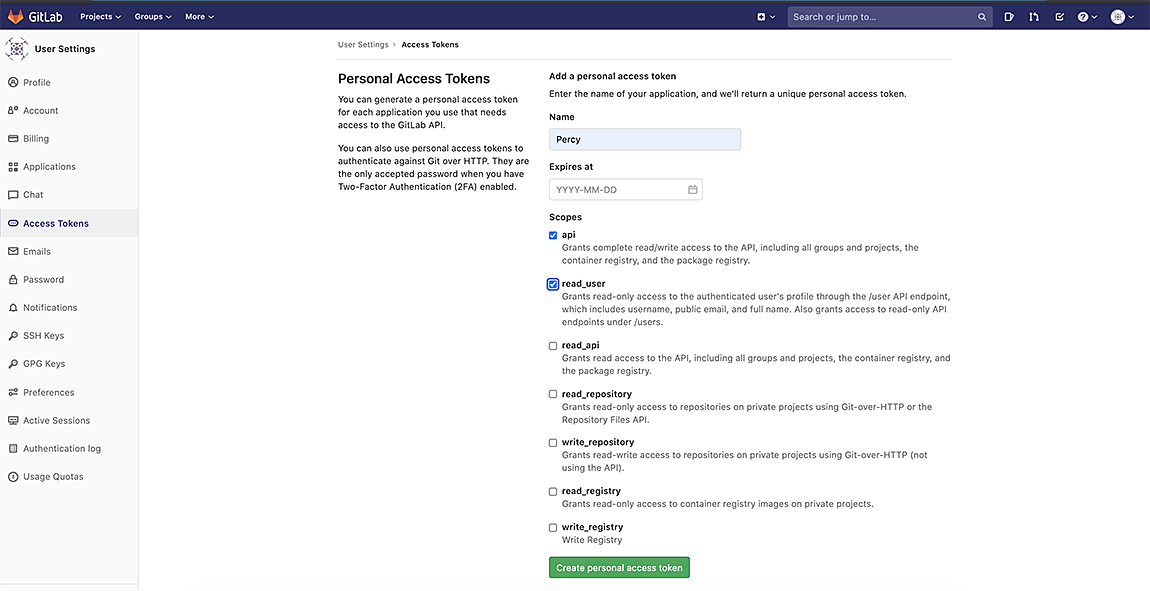
2. Generate a personal access token in GitLab with ‘api’ and ‘read_use’ access
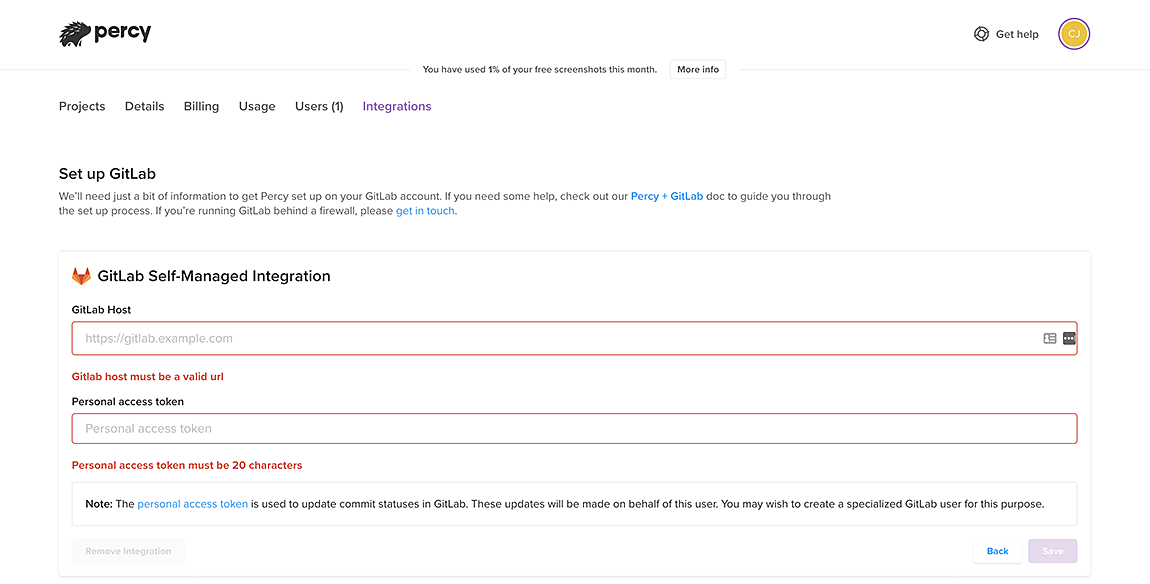
3. Add the personal access token to your Percy.io account
4. Link your GitLab repos to your Percy.io projects
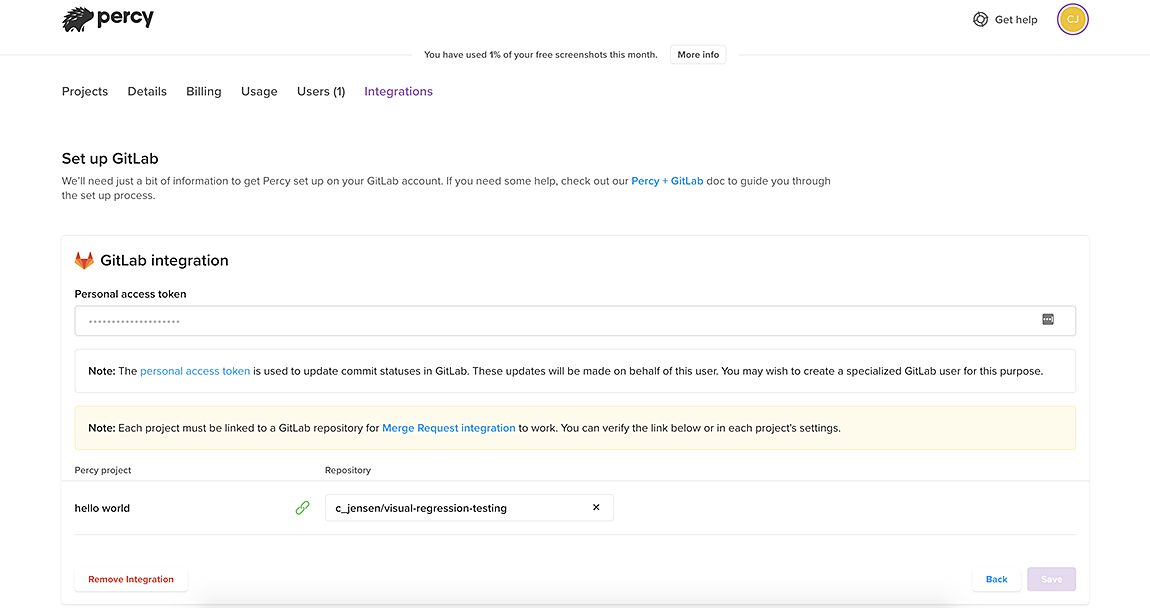
Here is what our Percy.io dashboard looks like. We currently only have one Percy.io project named “hello world” which is linked to our “visual-regression-testing” GitLab repo.

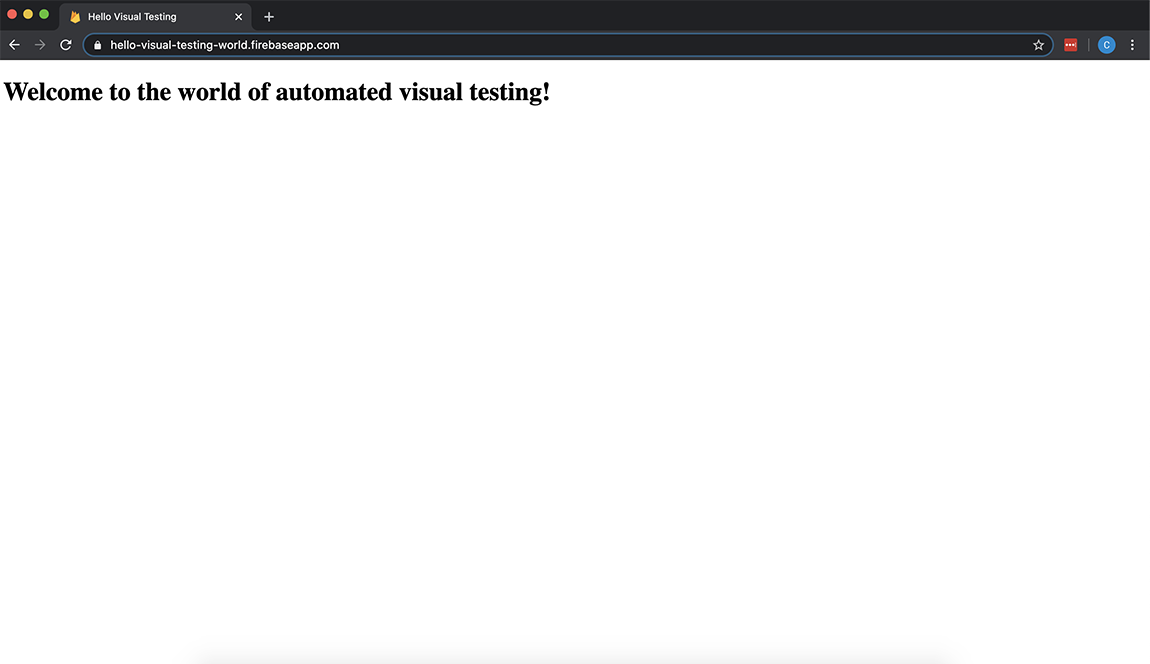
Now that we have Percy.io and GitLab talking to each other, let’s take a look at the test repo and take a snapshot of the simple homepage that it displays. We’ll use the PercyScript to take snapshots of our page.
After deploying it, here’s what the page looks like.
First, we’ll open the terminal, navigate to the local repo and install the PercyScript with NPM.
$ cd visual-regression-testing$ npm install$ npm install -D @percy/scriptThis command will add the PercyScript dependency to our package.json file.
Now, we’ll add a simple Percy script called snapshots.js to our example repo which contains the following code:
const PercyScript = require('@percy/script');PercyScript.run(async (page, percySnapshot) => { /* Take snapshot of example page */ await page.goto('<https://hello-visual-testing-world.firebaseapp.com>'); // wait for AJAX call to complete await page.waitForSelector('.loading', { hidden: true }); // Take snapshot await percySnapshot('homepage');});This script navigates to our homepage and tells Percy to take a snapshot of it. The snapshot will be uploaded to Percy for review.
Now we’re ready to run our Percy script from the command line.
We’ll use the PERCY_TOKEN environment variable from our Percy.io project so our script can connect to the API then take snapshots of our page.
$ export PERCY_TOKEN=aaabbbcccdddeee$ npx percy exec -- node snapshots.jsOutput:
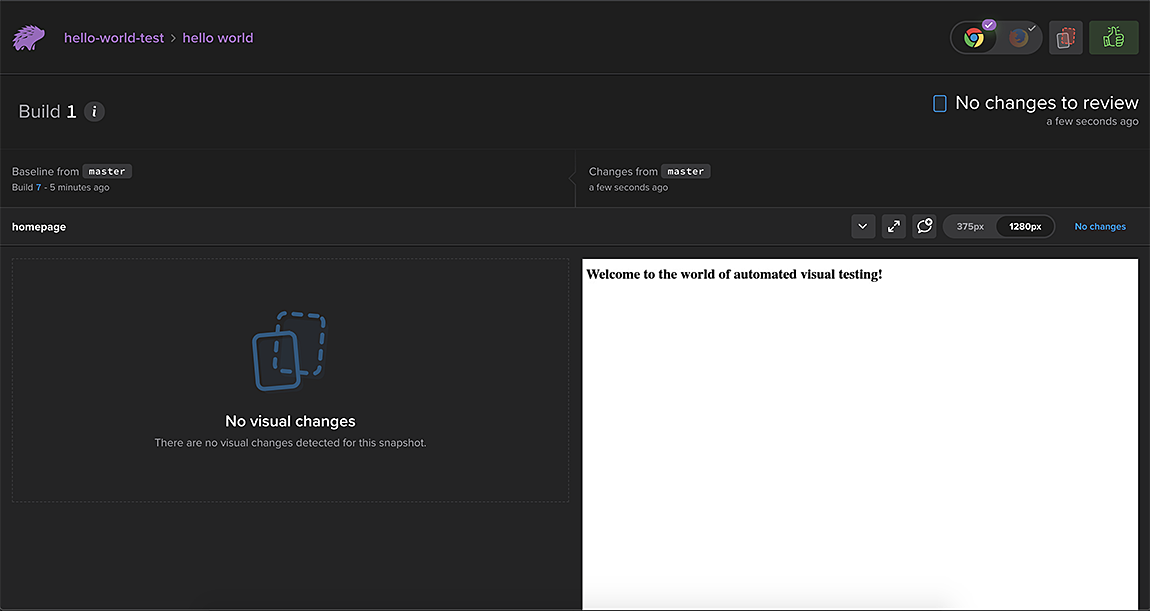
$ npx percy exec -- node snapshots.js[percy] created build #1: <https://percy.io/visual-regression-testing/hello-world/builds/5489704>[percy] percy has started.[percy] snapshot taken: 'homepage'[percy] stopping percy...[percy] waiting for 1 snapshots to complete...[percy] done.[percy] finalized build #1: <https://percy.io/visual-regression-testing/hello-world/builds/5489704>Here we can see the snapshot that Percy took by following the URL from the output. You can also get to this page from the Percy dashboard. There’s nothing for Percy to compare since this is the first snapshot of our page, but once we make some changes and run the script again, we’ll see how Percy looks compares changes in the UI.
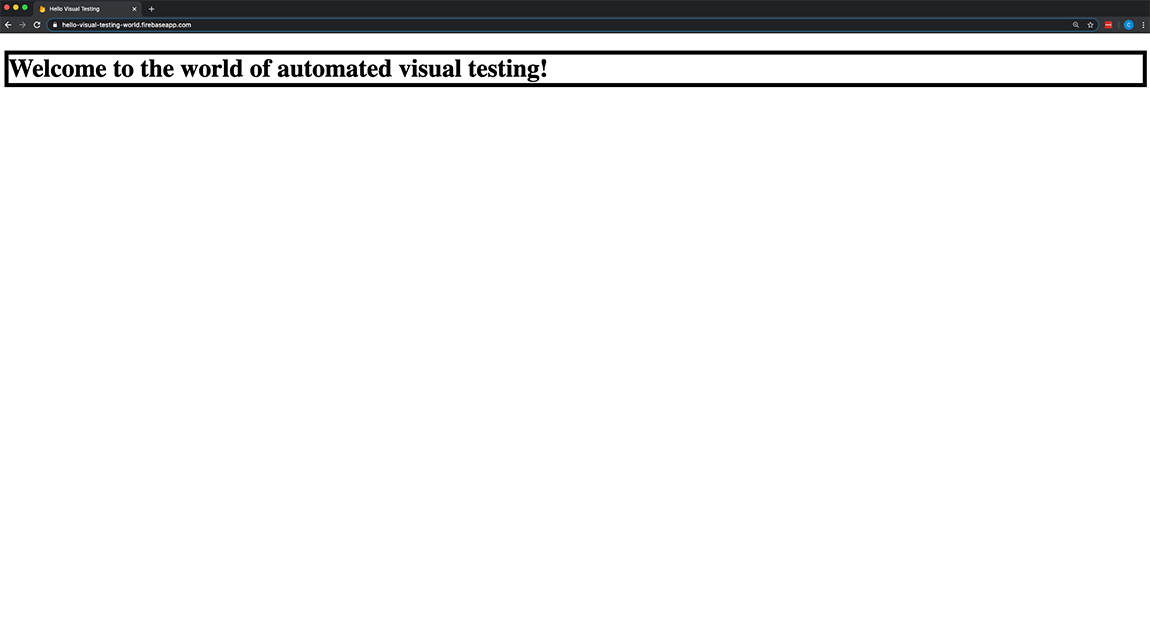
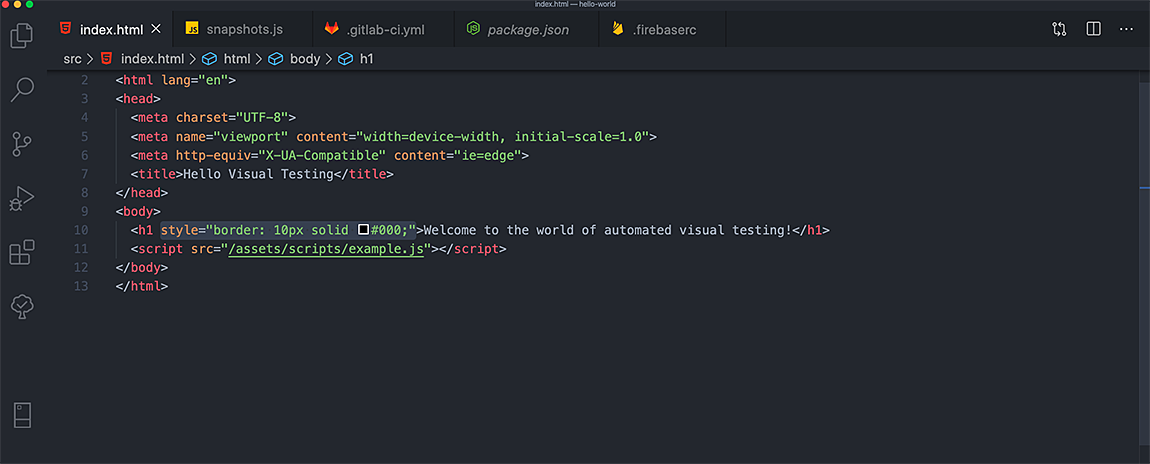
Now, we’ll make a small adjustment to our source code by adding a border around the heading.
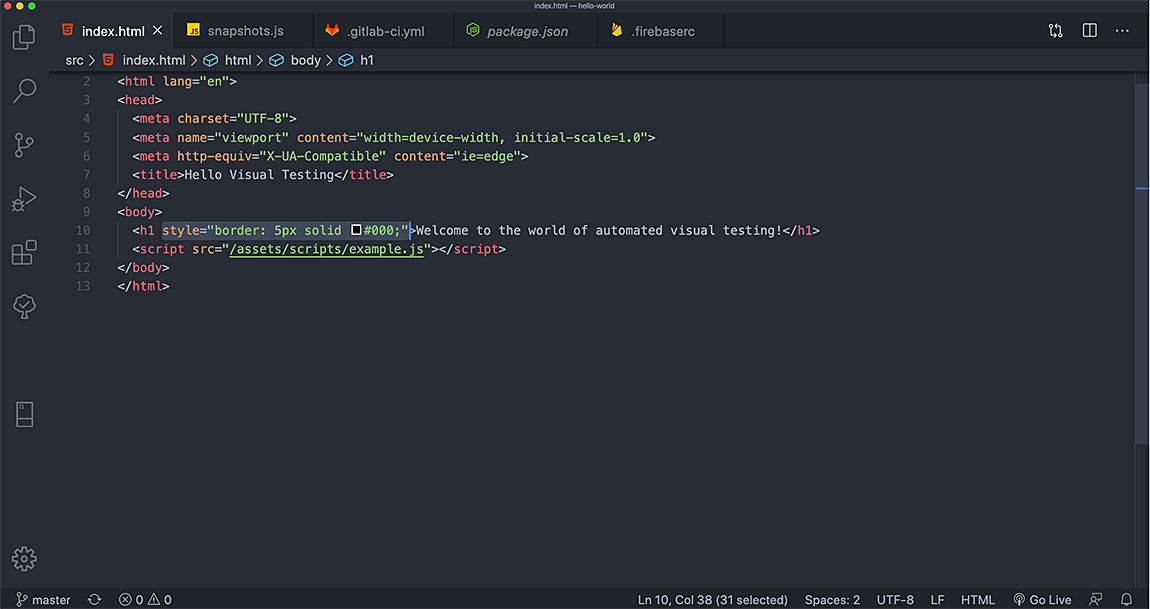
Once we save that and redeploy, we see that there is indeed a border around the heading.
Now we’ll run the script again and view the results.
$ npx percy exec -- node snapshots.js[percy] created build #2: <https://percy.io/visual-regression-testing/hello-world/builds/5489704>[percy] percy has started.[percy] snapshot taken: 'homepage'[percy] stopping percy...[percy] waiting for 1 snapshots to complete...[percy] done.[percy] finalized build #2: <https://percy.io/visual-regression-testing/hello-world/builds/5489704>
There are a few things to note here.
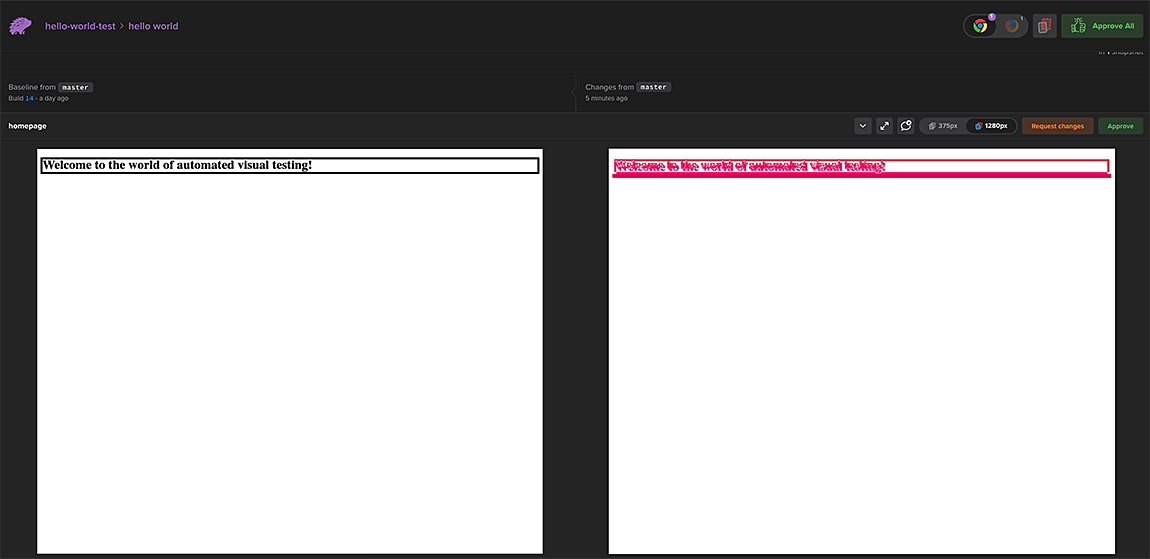
- The baseline is on the left, it’s the snapshot we’ll compare against. The new changes are to the right. You’ll notice the differences are highlighted in red.
- You can toggle between Firefox and Chrome to see any changes that might have occurred due to browser rendering differences.
- You can also view the snapshots at different widths to ensure consistency across devices.
Once the snapshots have been reviewed and everything looks the way we want it, we can hit the approve button.
GitLab CI integration (The automation part)
So far we’ve connected GitLab and Percy together and manually taken snapshots of our homepage by running our Percy script, but how do we automate that process? CI integration is one answer, and Percy integrates into several popular CI services described in their docs.
Since we’ve already connected GitLab and Percy together, let’s update our GitLab CI to run our Percy script every time we push changes to our remote GitLab repo.
image: node:9.4.0deploy:live: only: - master stage: deploy script: - npm install - firebase deploy --token "$FIREBASE_TOKEN" -P production # Installs Chrome - wget -q -O - <https://dl-ssl.google.com/linux/linux_signing_key.pub> | apt-key add - - echo 'deb [arch=amd64] <http://dl.google.com/linux/chrome/deb/> stable main' | tee /etc/apt/sources.list.d/google-chrome.list - apt-get update - apt-get install google-chrome-stable -y # Runs Percy script - PERCY_TOKEN=${PERCY_TOKEN} - npx percy exec -- node snapshots.jsNow, when we push a change to our master branch, GitLab will deploy the site with firebase and run our Percy script. In order for the CI pipeline to run successfully, we have to approve any visual changes to the UI that Percy finds. Let’s give it a try.
First, we need to make another visual change. Let’s increase the border size and push the changes to the remote repo.
Checking the GitLab CI pipelines we see that the pipeline has deployed the site but is waiting on an outside review to complete the process.
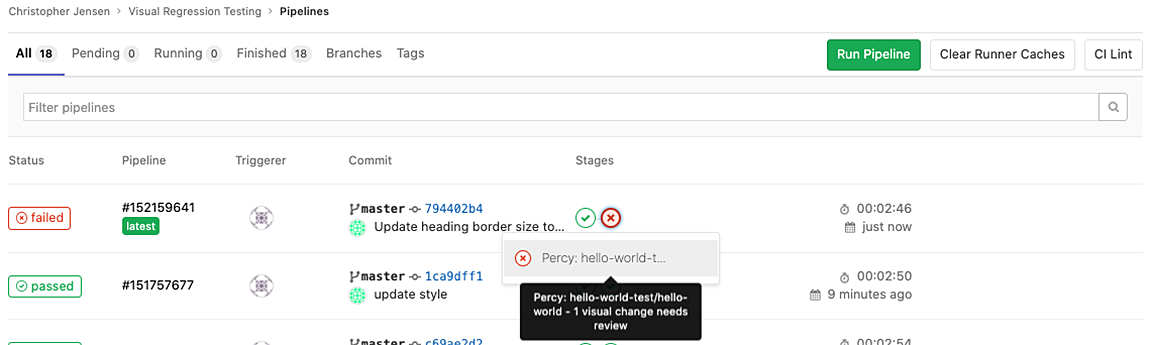
If you click on the link, it’ll take you to the Percy comparison page where we can approve our visual changes.
Once we review and hit approve, the GitLab pipeline will complete successfully.
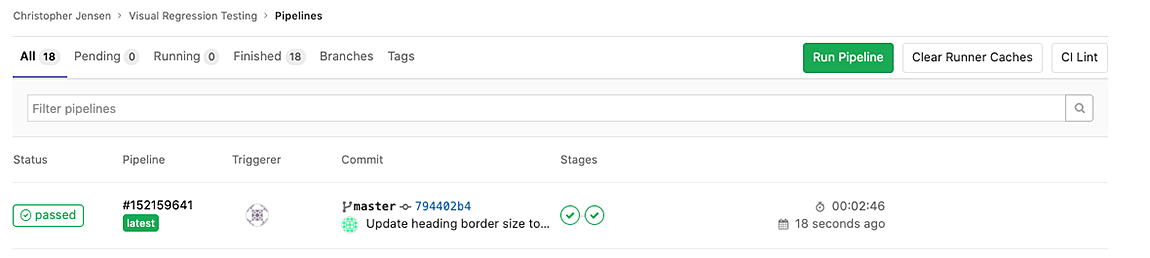
That’s it! We now have automated visual testing integrated into our GitLab CI pipeline using Percy.io.
Next Steps
What I’ve gone over in this article is just one option for automated visual regression testing. There are a lot of other tools out there to support your website’s testing needs. Check out this article with tool comparisons for visual regression testing, record and playback testing, and script testing.
If you’re ready to take your visual regression testing to the next level, we can help optimize your flow.
Or, if you’re looking for support for your website testing or general web consulting, feel free to contact us.
Note: In July 2020, Percy was acquired by Browserstack, a cloud-based cross-browser testing company. While we don’t know the full scope of change this might bring to Percy, hopefully, it will make it an even more useful tool.